Tuesday, February 20, 2018

Week 7 Progress

1. En Provence is coming along.

I finished all of the purple half square triangle and purple 4 patch units.


Purple half square triangle units


Purple 4 patch units


2. Kate's Stars Quilt.
My lovely neighbor Kate wanted to make another quilt like this one and could not find the pattern. I drafted one in EQ8. It was fun and easy. She was delighted to have the pattern and has already made many of the stars.  Now the only problem is that I want to make one too!!

Kate's original quilt
The EQ8 quilt.

It was fun to print all the rotary cutting instructions for each block and even coloring pages. It's exciting to learn about the software in my class too.

Dave's Sharpening Stones Case -- Week 7 Finish

Our son Dave is an avid collector of knives. He has a fancy set of stones for sharpening knives and scissors.

There are two sets of ceramic stones and various other parts in the set.

He asked me to make a case for the set and I had no idea how to make it.

After numerous attempts and prototypes this is the finished case.

So happy to have this project finished, it feels great.

These are the two sets of triangular ceramic stones. The case has cotton batting inside.  
The stones fit perfectly.
They are further protected by the flap that folds down.


All of the other pieces and the case with the stones fit perfectly into this padded  re-purposed knitting needle case from Knit Picks.


Week 8 Goals February 19 to February 25, 2018

1. Three sofa cushions

prewash fabric
quilt fabric
measure for cushions
finish edges
sew cushion
add buttons

2. Mom's quilt

resew arm 1
resew arm 2
resew arm 3
resew arm 4
resew arm 5
resew arm 6
resew arm 7
resew arm 8

cut down the diamond border to 6 1/2 inches

3. Complete lessons on EQ8 Class

Monday
Wednesday
Friday


5. En Provence

QST green/yellow/neutral
QST green/purple/neutral

6. Killians's quilt
Decide which quilt to make
Draft in EQ8
Gather fabrics
Cut fabrics
Piece blocks
Borders
Quilt
Bind
Label
Pack
Mail


Monday, February 12, 2018

Week 7 goals February 12 to February 18

1. Three sofa cushions

I have the fabric and backing ready to prewash. I just need to zig zag the raw edges on the backing fabric. Looking forward to quilting this.

prewash fabric
quilt fabric
measure for cushions
finish edges
sew cushion
add buttons

2. Mom's quilt

What a task to deconstruct this quilt for the 4th and FINAL time. 

The quilt has now been deconstructed and I am going to deconstruct some of the arms so I can put them together better.

Apparently when I sewed them together originally I was in a hurry and just put the units together without much care.  

When I put the quilt back together I will use the method of half square triangles instead of inset triangles and squares. 


work on fixing the setting triangles
work on fixing the setting squares
cut down the diamond border to 6 1/2 inches

3. Complete lessons on EQ8 Class
Great lessons. There is so much to learn in EQ8.
Monday
Wednesday
Friday

4. Kate's Spectacular Stars Quilt
Such a fun project. Great to use EQ8. 
measure stars
measure borders
photograph quilt
draft in EQ8

5. En Provence
Finished all of my purple 4 patch units. YAY
4 patch units
QST green/yellow/neutral
QST green/purple/neutral


Thursday, February 8, 2018

Progress on a rainy Wednesday

Couch cushion covers.
Here is the fabric I will be using for the sofa. I will be outline quilting it on my long arm before making the covers.
vintage home dec fabric

En Provence 
QST progress (quarter square triangles or hourglass units)
After discovering the units I made with triangulations measured 3 3/8 inches and were not square, I started over using my AccuQuilt cutter. 

Even with accuquilt you cannot sew from the tip of the blunt cut. The unit will measure 3 3/8 not 3 1/2. It has to do with the elusive scant quarter inch seam. 

Now that I have figured that out it's onward and upward.

There are 64 half units to make 32 QST units.

Love my AccuQuilt cutter.

Have a great day everyone.


Tuesday, February 6, 2018

Week 6 goals February 6-

Time to actually set some goals for this week. It is possible that I will complete all of them but it is not necessary. I just want to take the challenge. No stress, just fun. No affiliation with the any of the vendors, just passing on the information in case you are interested. 

I got three of the goals completed and an extra project. It was a storage case for our son David's sharpening set. You can see it here:


Make the lazy cushion covers for the sofa--
http://jezzeblog.blogspot.com/2008/05/upholstery-for-lazy-girl.html
1. quilt the fabric
2. cut and zig zag edges
3. find buttons
4. complete the 3 cushion covers
Complete all three sections for my EQ8 class.
1. Monday
2. Wednesday
3. Friday
En Provence
1. work on quarter square triangles
2. work on purple four patches
Pam Clarke quilting 
1. decide on a video to watch
2. trace patterns every day
Mom's quilt
1. try to fix the issues with the setting triangles and squares
Borders class on Craftsy unlimited
Finishing School--Better Borders
Free trial. I love Craftsy Unlimited. Have learned so much already this year. 
1.Try to finish watching the class at least the sections that will help on Mom's quilt

Sunday, January 7, 2018

What was I thinking?

I have been organizing in my studio and came upon this stack of blocks for a quilt. I have no idea when I started it but I think it was going to be a quick charity quilt. That was years ago.

The good thing about a large studio is that you can stash/store lots of things. The bad thing about a large studio is that you can stash/store lots of things.

The fabrics are from Connecting threads and have been in my stash -- no wait, my curated fabric collection-- for years.

While I was deconstructing Mom's birthday quilt I decided to tackle these blocks also.

It is a drop in the bucket in studio organizing but I will be plugging away at it this year and sharing progress here.

Mystery block uses a layer cake square and a charm square with  two 5x10 rectangles.


Deconstructed and ready to be put back into the stash.


Out with the old... Mom's quilt is out of hibernation again

Happy 2018 everyone. It is hard to believe that we are already into the second week of this new year.
It is always wonderful to greet a new year, full of possibilities!!
New projects to start and old projects to finish.

Mom's birthday quilt is out of hibernation again!! Firstly it needed a good pressing, so that part was easy. 
Mom's quilt was started in September of 2012 and has been in and out of hibernation numerous times. It took many months to piece all of the units but it certainly should have been finished years ago.

We just don't know what to do with it. The center is an eight pointed star that is paper pieced with all batik fabrics. I saw this star in a book and decided to make it into a quilt. That was the setup for the challenge right there. I have successfully designed lots of quilts over the years but none have been this challenging.

So when we have hit design impasses it has been put away and then it has been "out of sight and out of mind". However, this is the time to finish this quilt and enjoy the satisfaction that will come with completion of this quilt. No more hibernation!!

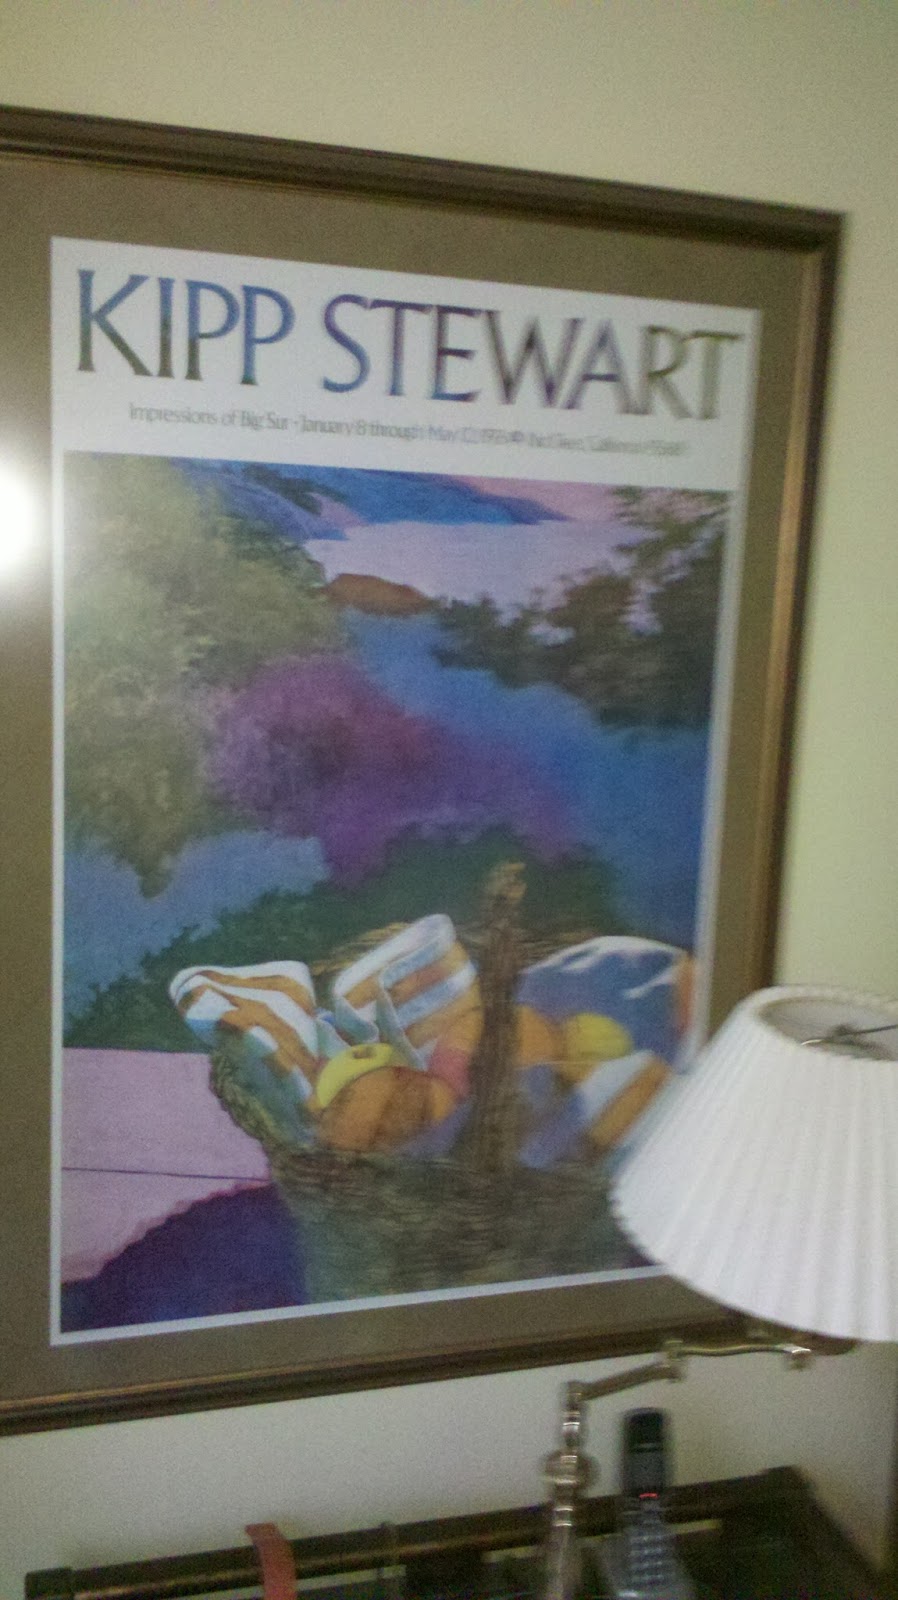
This lovely print is the inspiration for Mom's quilt. 

These are the paper pieced units that make up one arm of the center star. 

Mom designed the star from the units that I sewed.

Final layout for the star. 

Mom is working on designing one of the squares. This was March of 2016. I had all of the squares and triangles sewn around the star. I removed all of them so it would be easier to applique all these amazing shapes. 

I got an AccuQuilt die cutting machine for Christmas 2016. We decided it would be amazing to have applique squares and triangles surrounding the star. 
We got 6 of the 8 squares and triangles all ready to applique and decided we did not like it!! We decided the star should be the star. So I took all of the applique shapes off the setting squares and triangles and sewed them back to the star. Then I added the two borders below.
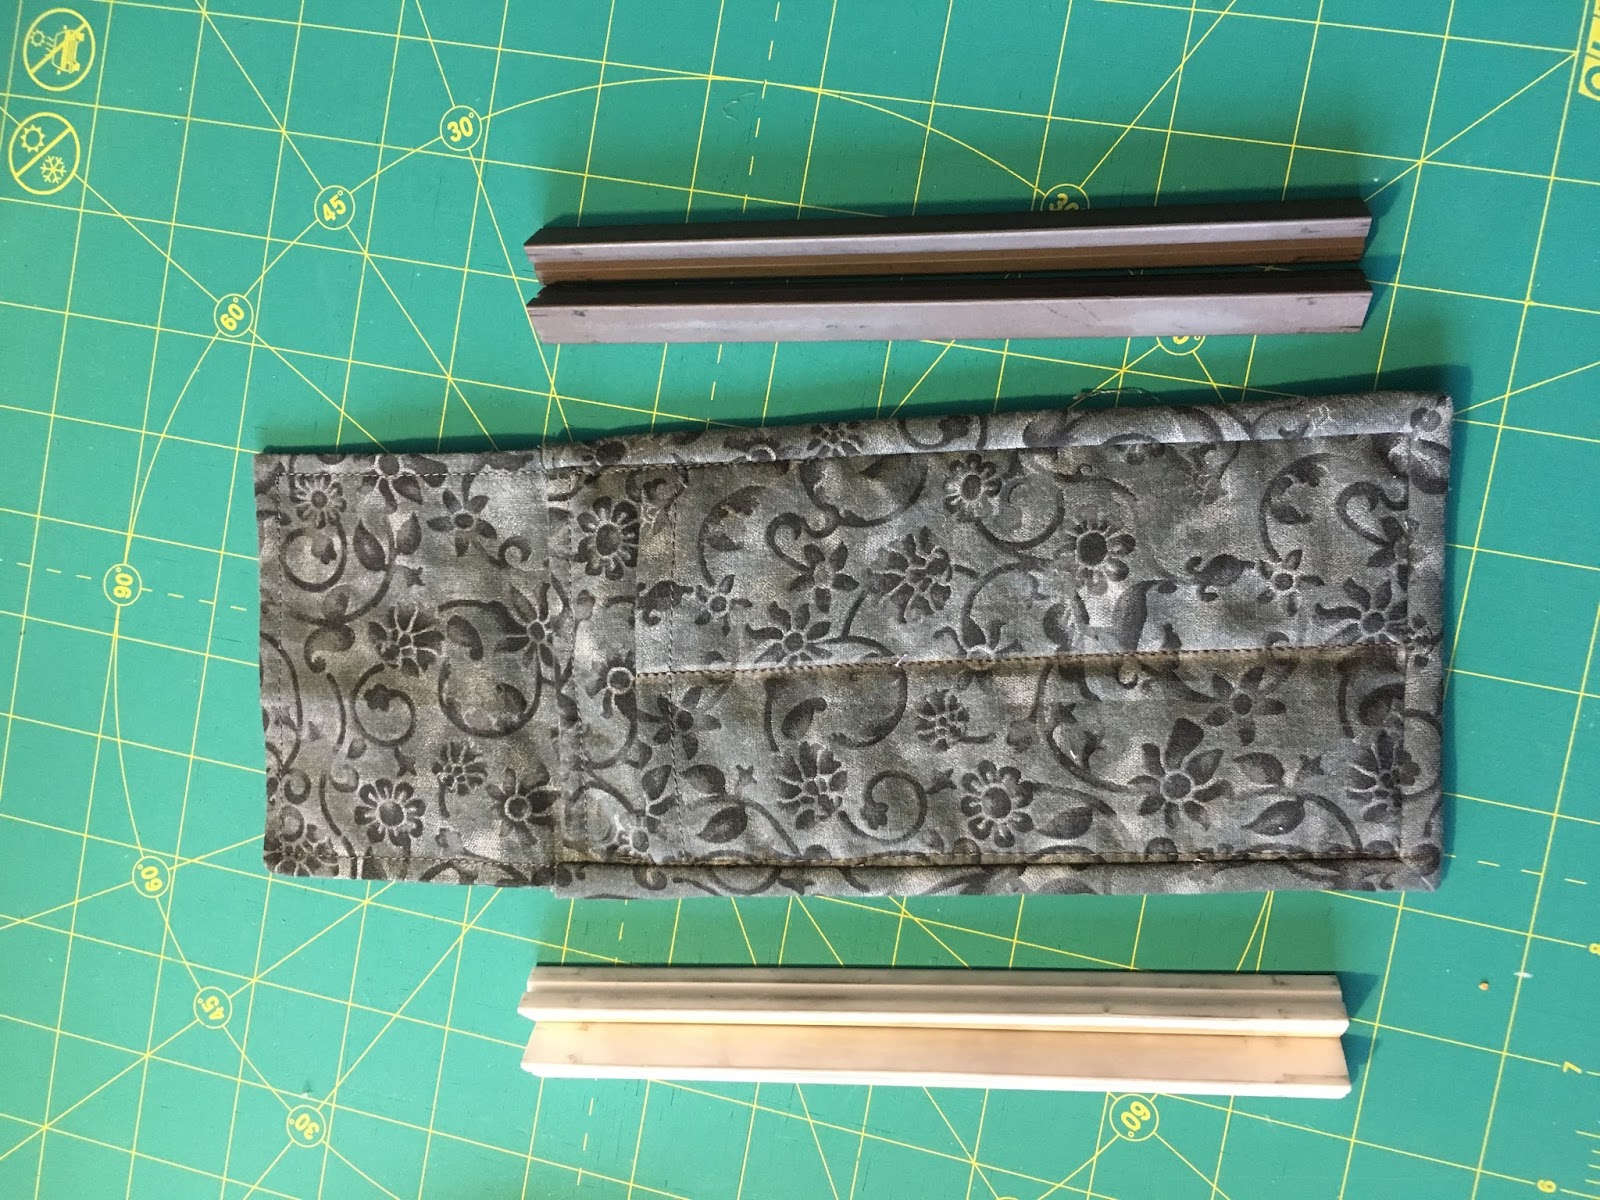
The top diamond border was the inner border and the lower piano key border was the second border.


We decided that we did not like the two borders because it made the quilt too big for the bed. So I removed both borders from the quilt and then from each other.

Next week I will bring the star top, the piano key border and some background fabric over to Mom's and we will try and come up with the ideal borders. This is the year we will succeed and will prevail.

More updates to follow. I can't wait to see this quilt finished and on Mom's bed. We will both be doing the happy dance when it's all done.